
What to Check After Project Completion (Staircase Snagging) in 2026?
Most people are used to thinking that a new staircase will look perfect. In theory, this assumption should be correct…if the project is carried out correctly by professionals in accordance with all staircase building regulations in the UK. Otherwise, visible defects may appear even in the first days of use after the project is completed.
The most dangerous defects are those that are not immediately visible but continue to progress with each passing day. For example, these could be internal cracks. That’s where staircase snagging comes in. It’s a simple, practical way to spot issues early, document them clearly, and get them sorted while everything is still fresh in everyone’s mind and ideally before minor defects turn into costly fixes!
Explanation of the Term Staircase Snagging
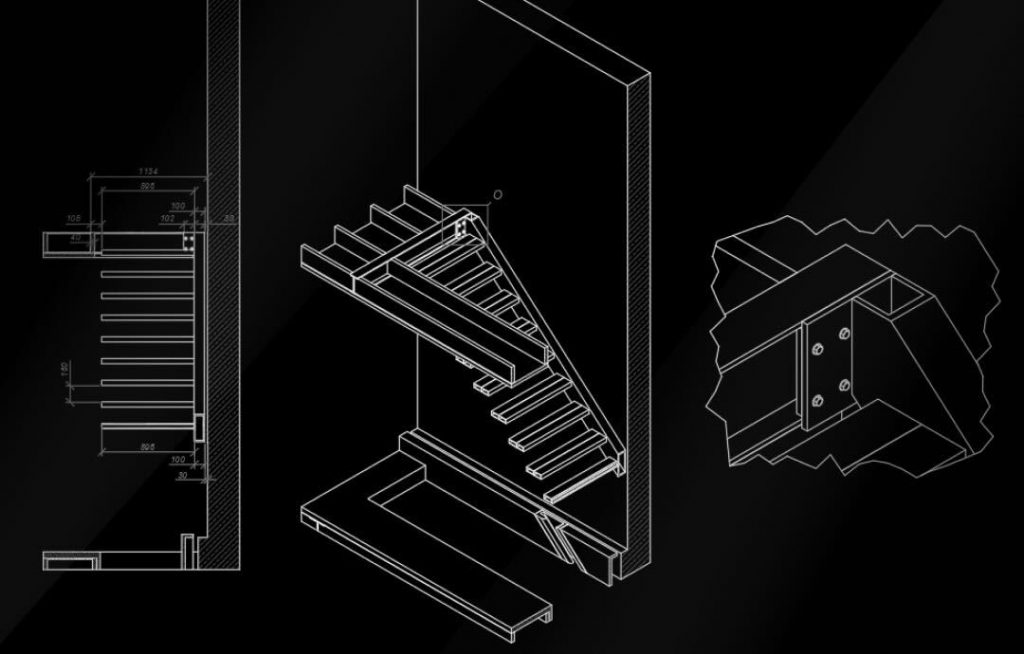
A UK construction term that may be used to identify and document defects once works have been completed is called “snagging.” When applied to staircases, staircase snagging involves a specific check at the end of the installation, when the staircase is being used normally, but not a deep survey, but a reasonable quality and safety check. A snagging check should typically include:
- Sounds and motion (squeaks, clicks, vibration, bounce).
- Fall prevention (balustrades, fixings, sharp edges, and handrails).
- Finish (scratches, chips, discontinuities, rough coating, wavy joints).
The goal isn’t to nitpick. It is to sort out what is really acceptable and what requires attention and to devise a list of things that the installer can move on. Snagging, when done correctly, safeguards your investment and ensures discussions with contractors remain factual, relaxed, and easy to solve.
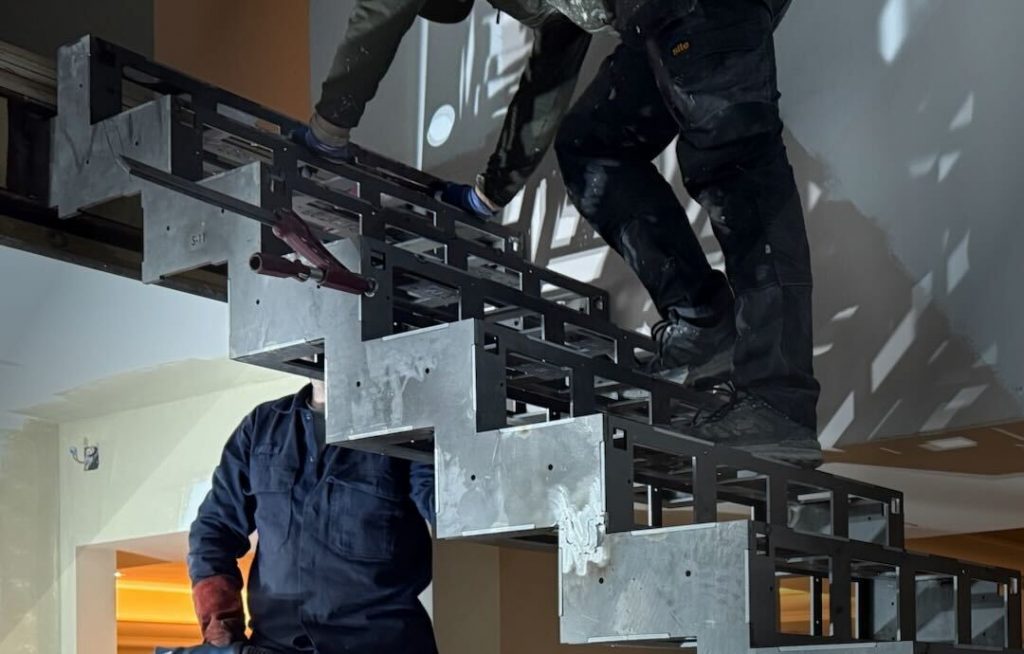
The Most Common Defects After Installing Stairs
Most post-installation issues fall into a few predictable categories: unwanted noise, slight movement where you expect solidity, and cosmetic damage that appears once other trades are still finishing a property. The sooner you identify these, the easier they are to fix and the less likely you are to end up in the trap later.
If you’re still at the stage of formally accepting the project, it helps to pair snagging with a proper handover check. Here’s our staircase project acceptance checklist for homeowners → https://vpstairs.com/what-to-know-about-staircase-project-acceptance-a-simple-handover-checklist-for-homeowners/?utm_source=chatgpt.com
1. Squeaks, Clicks and Vibrations

A brand-new staircase shouldn’t feel like it’s “talking back” every time you use it. If you hear squeaks or clicks, note exactly where they occur (third tread from the bottom, near the wall side, at the turn, and so on). If the sound changes depending on where you place your foot, that detail is useful. It often points to a specific fixing or joint rather than a general issue.
Vibration or bounce matters more than noise. A little sound can be irritating. Noticeable movement can feel unsafe and may indicate the staircase isn’t as stiff as it should be. If you’re seeing this, record a short video and ask for the cause to be identified and removed, not just silenced.
2. Poor Handrail Safety
If there’s one area where you shouldn’t compromise, it’s the handrail and balustrade. A handrail should feel dependable (not something you’re afraid to lean on). Check for any wobble, movement at fixings, or sections that flex when you apply light pressure. Don’t “stress test” it like a gym workout; you’re simply checking whether it behaves like a solid safety feature. Also look for practical hazards: sharp corners, rough edges, awkward joints, and poor finishing where the rail meets a wall or newel. If anything feels loose, treat it as a priority snag.
3. Defects and Damage in Finishing
The problems with finishing are amazing, and not necessarily because the staircase was improperly constructed. They usually fall into the crossfire of building activity. Check closely for scratches, edge chips, scuffed nosings, and areas where the covering has the appearance of being thin, hard, and patchy or dusty. These come easier to notice under side lighting (through a window or a low-held lamp) than they do in overhead light.
So, you should check joints and edges. We mean sloppy lines of sealant, exposed gaps, shrunk filler, or trim that is not fitted may compromise the end result. Associate defects with a probable cause where possible (e.g., scratches on the outer string where materials had been transported up the stairs). It assists conversations to remain pragmatic.
How to Create a Snag List?
A snag list only works if it’s easy for someone else to action. The trick is to write it like a set of small, clear tasks. Not a rant, and not a vague “please fix everything”. Start with a short note explaining that the list covers post-installation snags discovered during normal use and that you’d like them addressed within an agreed timeframe. So, you can apply an easy format for each item:
- Location (for example, top flight, tread 5, wall side).
- Issue (what’s wrong, in plain language).
- Evidence (photo/video reference).
- Requested outcome (tighten, refinish, replace).
What else? We advise finishing with one paragraph that sets the tone. You appreciate the work, you want a clean resolution, and you’re happy to provide access for remedial visits. If you keep it factual and well organised, most contractors respond better and faster.
Final Thoughts
If you’ve spotted problems and want a calm second opinion, our team can help you make sense of what you’re seeing and advise on the most sensible next step. So, the easiest way to start is to contact V.PSTAIRS here, share a couple of photos or a short video of the issue, and tell us what materials and layout you have (straight flight, turn, glass balustrade, etc.). We’ll come back with practical guidance, whether that’s a simple adjustment, a targeted repair, or a more complete upgrade.
In the meantime, keep your snag list and evidence in one place: date-stamped photos, brief notes on where the defect appears, and any messages you’ve exchanged with the installer. That small bit of organisation pays off fast. It prevents misunderstandings, speeds up remedial visits, and makes it much easier to confirm when everything has genuinely been put right.